 Campound
Find a trail
Help guide · Updated June 25, 2026
Open the panel
Tap the trail icon in the toolbar at the top of the map.
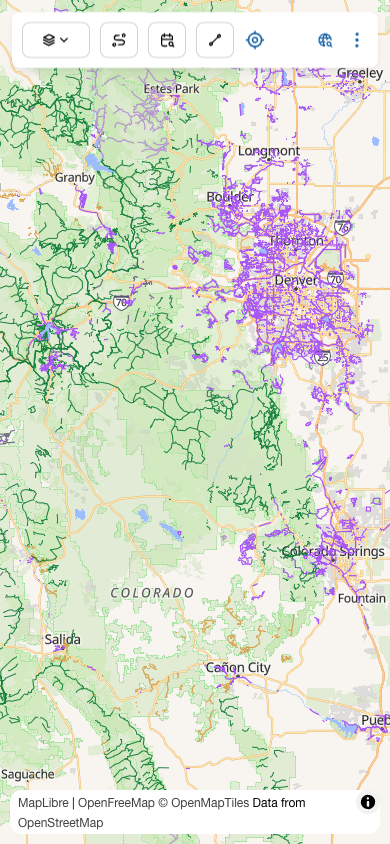
A panel slides up from the bottom with everything you need.
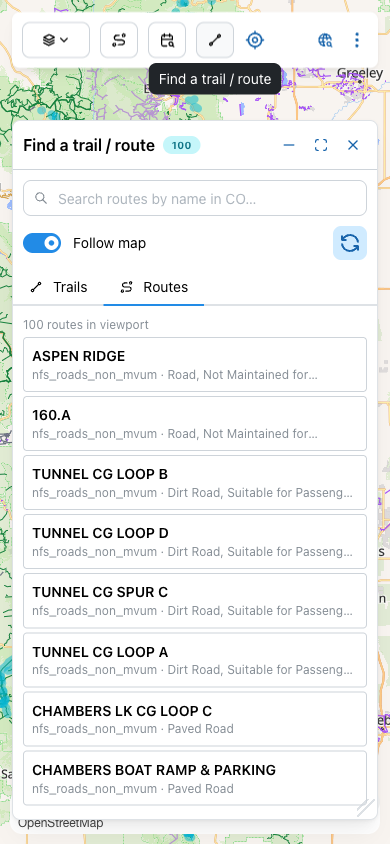
Trails vs. Routes
Two tabs split the world the way most people think about it.
- Trails — named footpaths and singletrack (National Forest trails). Best for hiking, biking, horse.
- Routes — drivable roads, including National Forest Service roads, BLM roads, and MVUM routes — with surface info like "Dirt Road, Suitable for Passenger Car" or "Road, Not Maintained for Passenger Car."
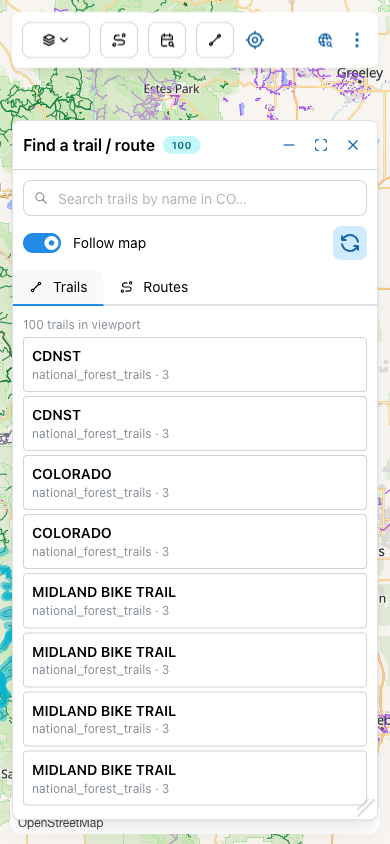
Two ways to find something
1. Pan around the map
By default, the list shows everything in the current viewport. Drag or zoom the map and the list re-queries.
- Follow map (the blue toggle) — auto-refreshes the list as you pan and zoom. Leave it on.
- Refresh (the circular arrow) — manual refresh for the times you want a static list while you pan.
The header reads 100 routes in viewport so you always know what's been counted.
2. Search by name
Tap the search box and type any part of a trail or route name. The list switches to name matches across the whole state — viewport filters don't apply while you're searching.
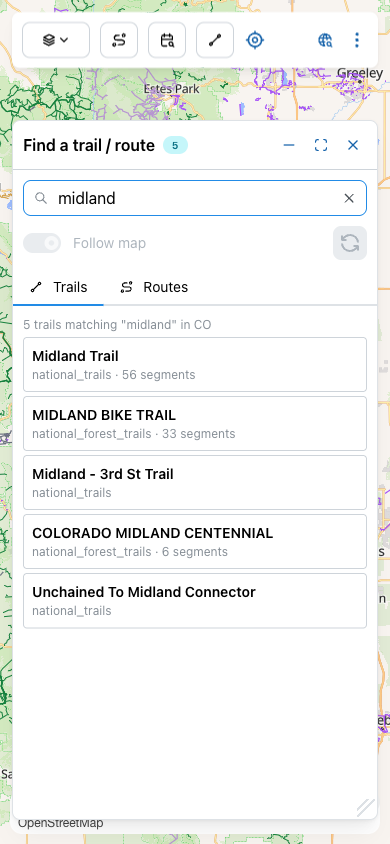
A few things to notice while searching:
- The count badge and header update (
5 trails matching "midland" in CO). - Follow map dims — search results aren't viewport-bound.
- The × in the search box clears the query and returns you to viewport mode.
- A long trail published in many pieces — a state-line bike trail, for example — is collapsed to a single row with a
· 56 segmentshint, instead of cluttering the list with fifty near-identical entries.
Open a trail
Tap any row to open a detail screen.
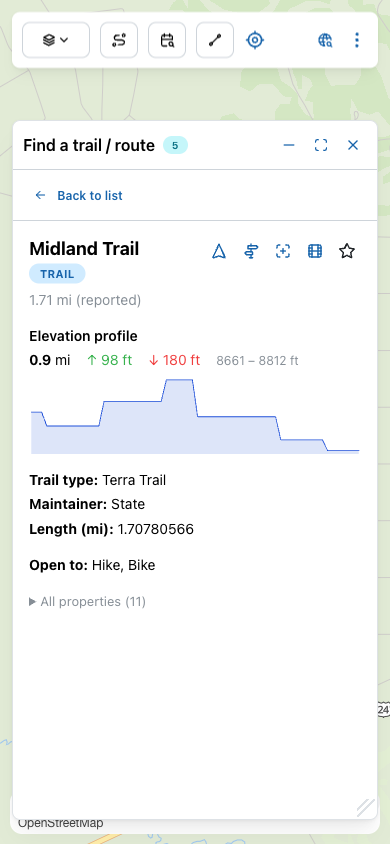
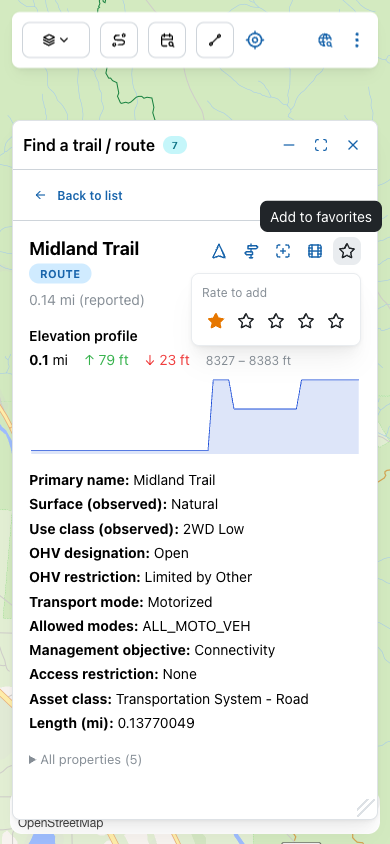
You'll see, depending on what the data publisher provides:
- Reported length under the title.
- Elevation profile — an interactive chart with total distance, ascent (↑) and descent (↓), and min/max elevation.
- Trail type, maintainer, open to (Hike, Bike, Horse, OHV…).
- All properties — expand to see every raw field from the source dataset.
Hit ← Back to list to return to results without losing your filter or search.
The action row
Five icons sit at the top right of the detail screen. Each one is a quick action on the selected trail.
Navigate
Starts turn-by-turn navigation. If you're not on the trail yet, it drives you to the trailhead first and then switches to trail-following with off-trail alerts. Auto-minimizes the panel so the map is in view.
Directions
Opens driving directions to the trailhead in Apple Maps — the iOS Maps app on iPhone, or maps.apple.com in a browser. Useful when you want the standard car-nav experience to get there.
Show on map
Recenters and zooms the map to fit the trail, highlights its geometry, and drops a labeled pin. The panel auto-minimizes so you can see what you selected.
Play flyover
A cinematic 3D fly-through of the route, rendered in a parallel hidden map so your main view isn't disturbed. Requires a signed-in account (the flyover renders from Mapbox Outdoors terrain).
Favorite
Saves the trail to your favorites with a rating. Tapping the star opens a 1-to-5 picker — choose any star to commit. Once favorited, the star fills yellow and a Remove favorite option appears.
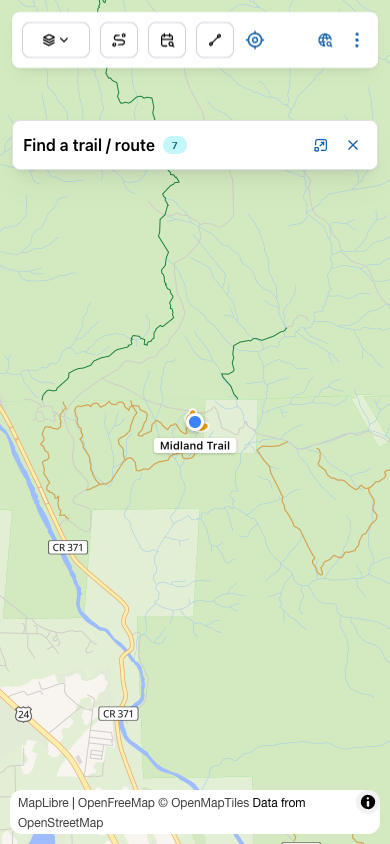
Get out of the way
The panel header has three sizing controls.
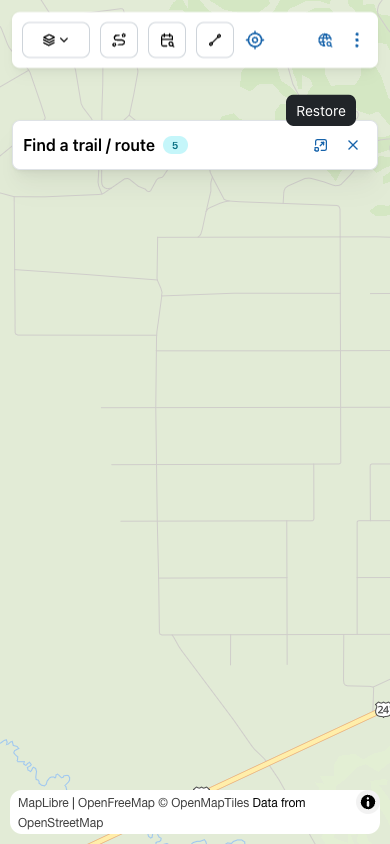
- Minimize — collapse to a thin header pill so you can interact with the map underneath. Your selection is preserved.
- Maximize — go full-screen for long elevation charts or to scroll all properties without losing context.
- Close — dismiss the panel entirely.